For correct operation of the OPC server, you must configure controller to work with the SLMP protocol. This can be done in GX Works.
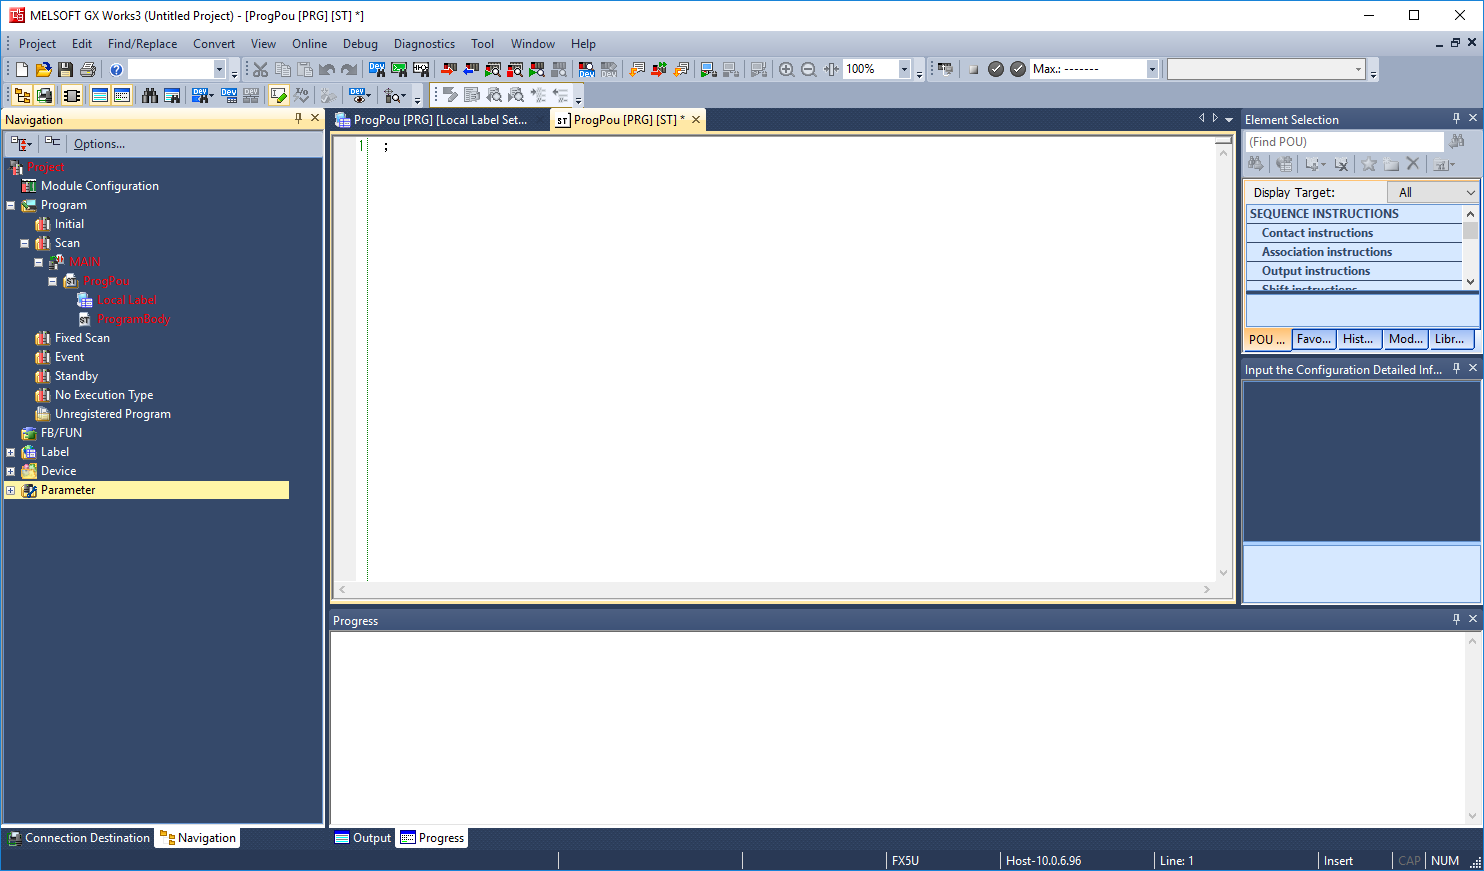
Open GX Works, create a new project and specify type of controller used or open an existing project.
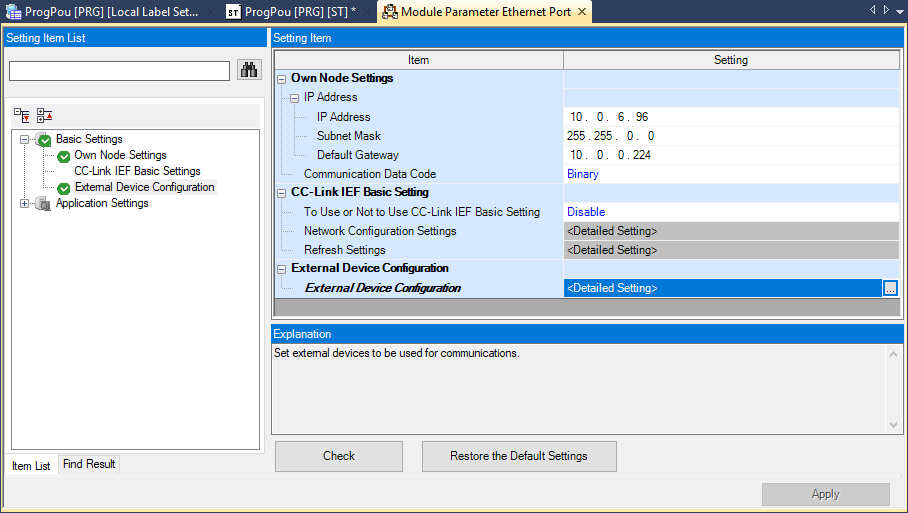
In the project tree, open Parameter - Controller Name (e.g. FX5UCPU) - Module Parameter - Ethernet Port.
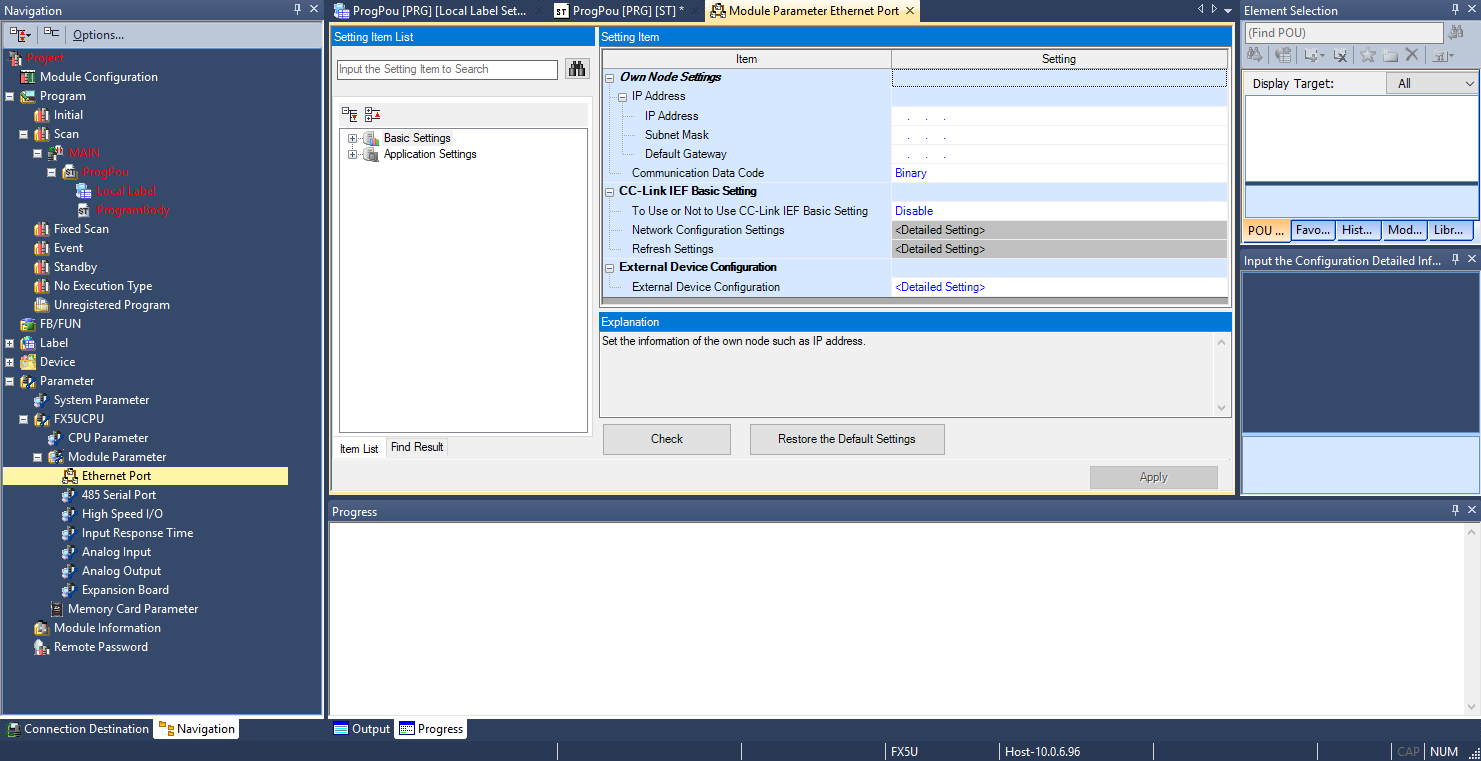
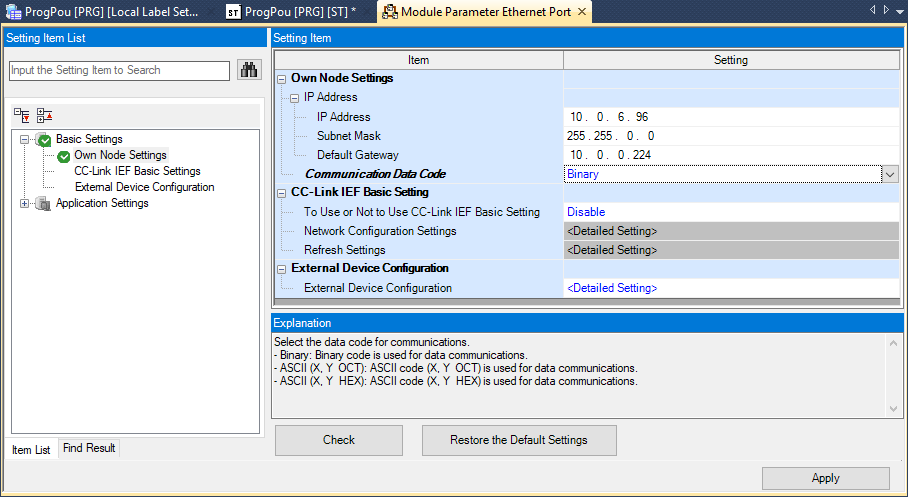
Select connection settings – Controller IP-address, mask and gateway, and protocol type - Binary.
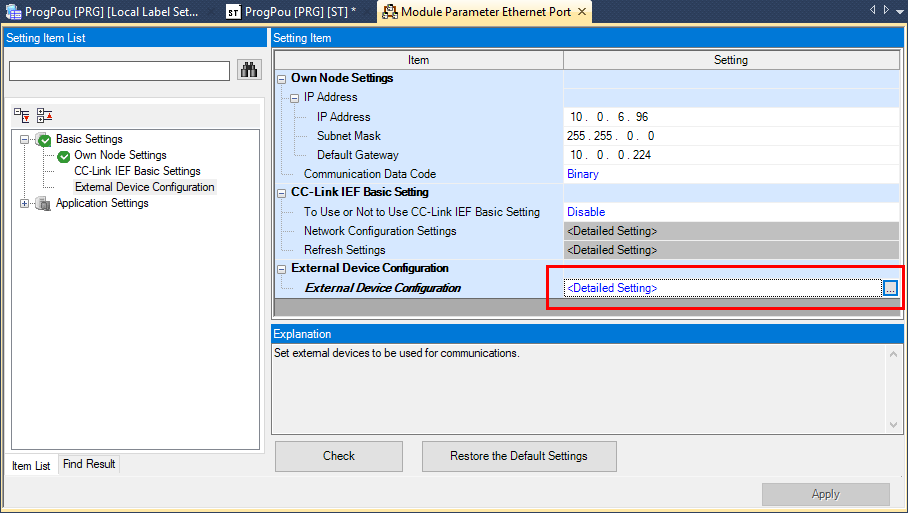
Then click External Device Configuration.
Ethernet configuration page appears.
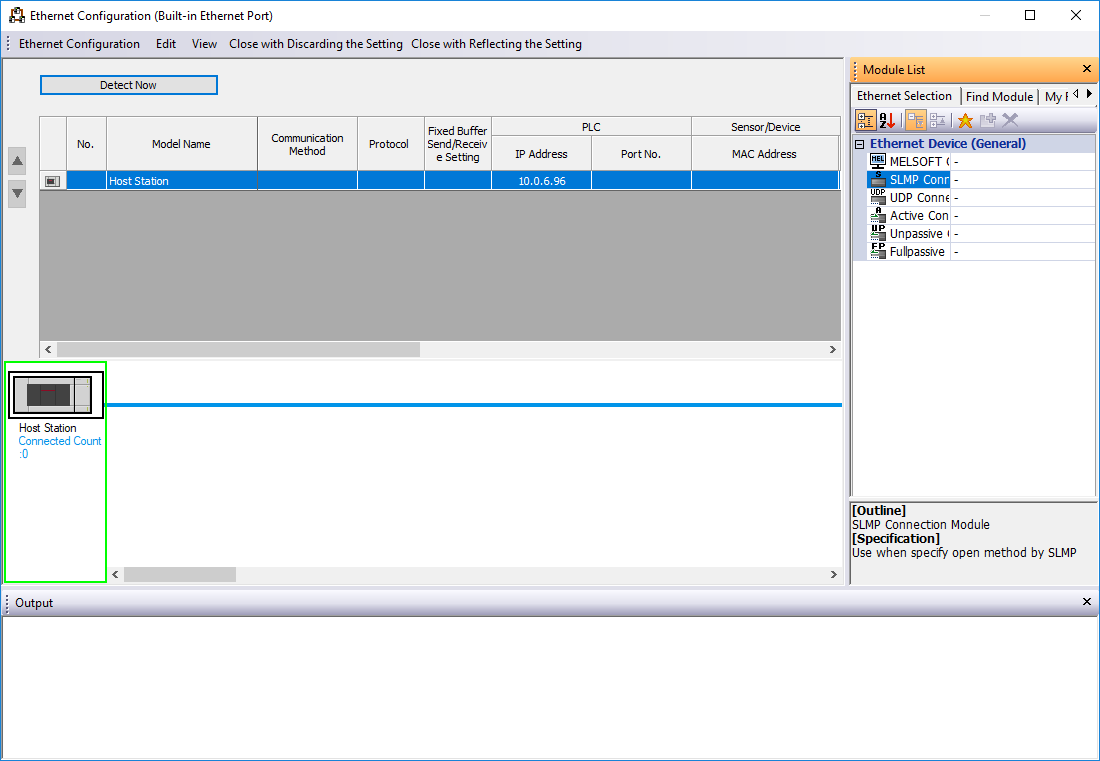
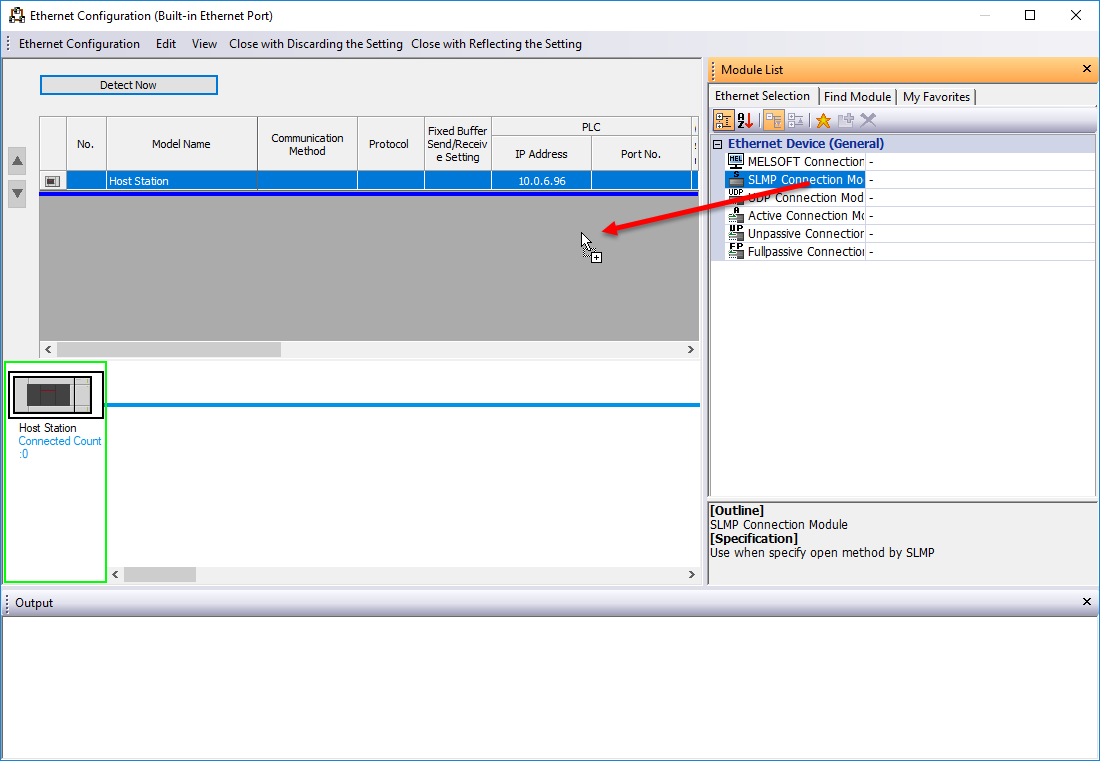
On this page, add an SLMP-connection. You can do this by dragging it to the table:
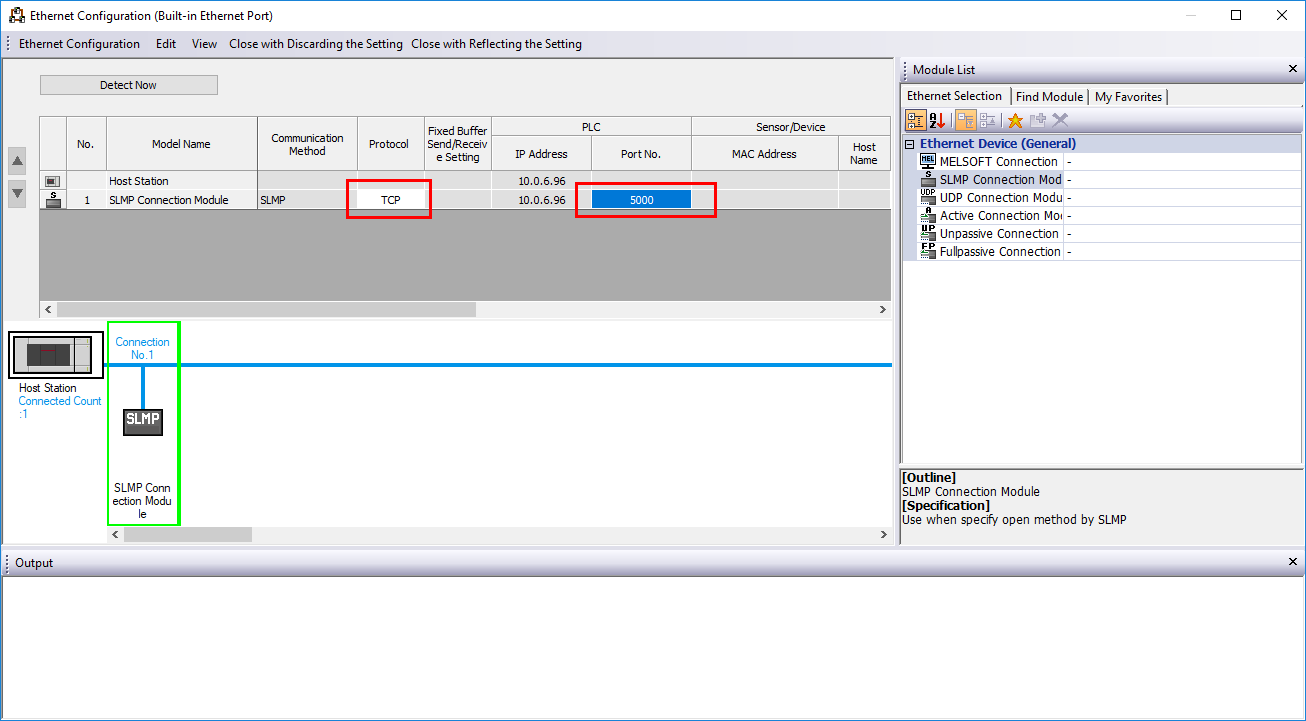
Then select TCP protocol and port - 5000 (port can be modified; this port must be specified in ОРС settings).
Now, configuration is finished. Click Close with Reflecting Settings.
Click Check on Module Parameter Ethernet Port to ensure that settings are correct and if all OK, click Apply.
Now, Mitsubishi controller setup is finished. You can upload application to the controller and check that variables can be polled correctly by OPC server.
Note. In order for the PLC to apply the settings, you must load settings into the controller, as well as reload the controller
Settings for UDP protocol
If you need to communicate with the controller via UDP, then you need to select this type of protocol, and you must also specify the IP address of the computer with the OPC server:
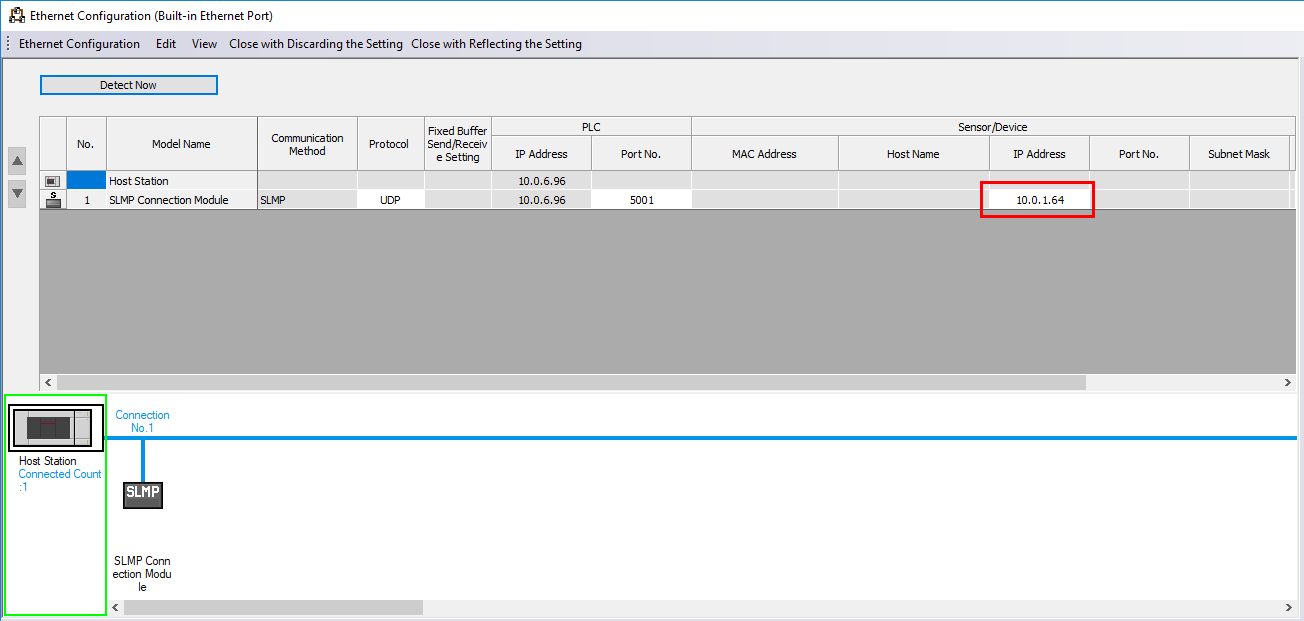
The rest of the settings are similar to the TCP mode settings.