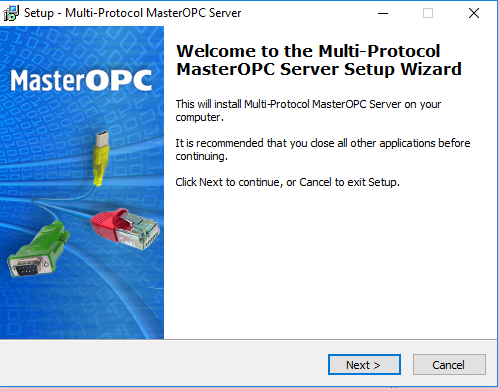
To begin, launch Multi-Protocol_MasterOPC_Server_SETUP_DEMO.exe. The initial dialog of the installation wizard is displayed:
Click Next to open the next dialog:
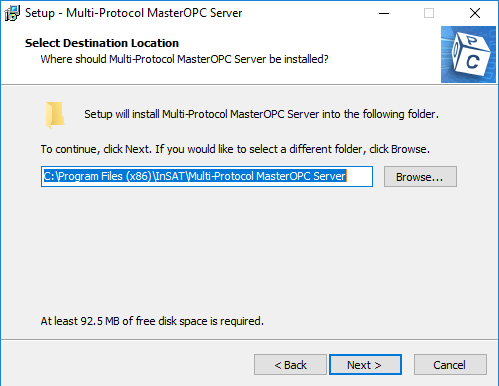
In this dialog, you can change a default installation folder (you can set a path manually, or click the Browse button and choose a folder in the standard OS dialog displayed).
Click Next to open the next dialog:
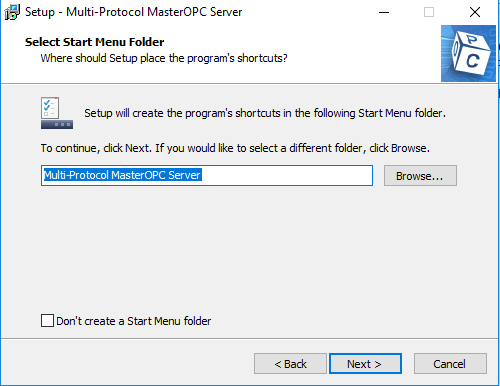
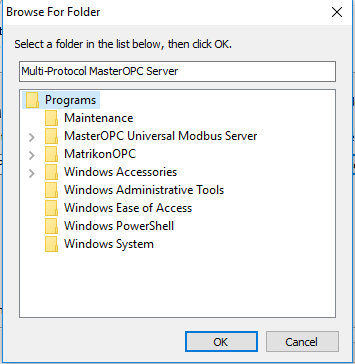
In this dialog, you can change a default folder that must store a group of product shortcuts (click the Browse button and choose a folder in the standard OS dialog displayed). By default, a group of product shortcuts is stored in the root directory of the Start menu.
Click OK and then Next. The following dialog is displayed:
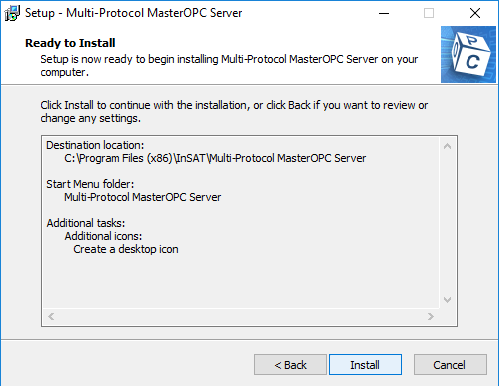
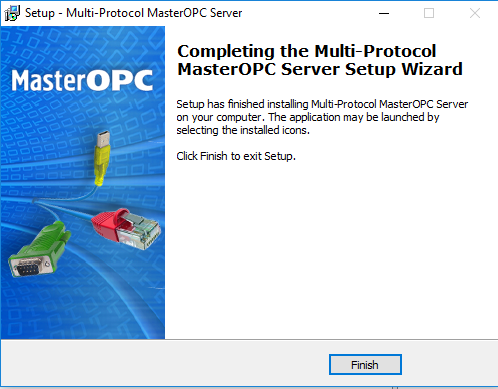
To proceed, click the Install button, and wait till the final dialog is displayed (click the Finish button in that dialog).
Wizard dialogs are provided with the button to cancel installation (Cancel) and the button to open a previous dialog (Back).
After installation, the product must be activated (see Product Activation ).